Adding Attributes (Info) to a Feature
To add attributes to a feature, click on the icon displaying a number within a black circle next to the layer you want to edit in order to reveal the list of features within that layer.

Click on the pen and paper icon to the right of the feature you wish to edit; this will reveal the “Edit Feature” window.

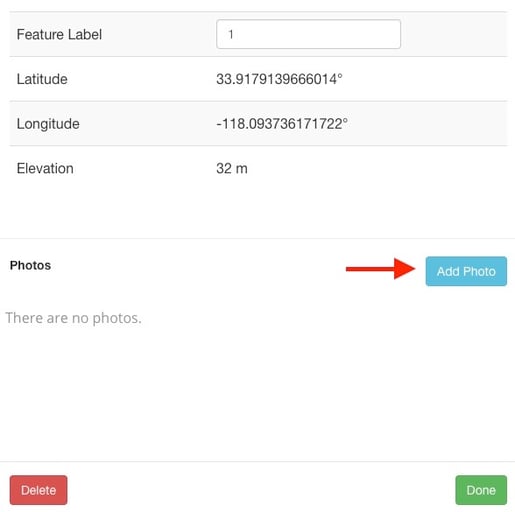
From here, you can see that the feature names Latitude, Longitude, and elevation are already filled in. You can insert your own attributes by filling out the “Name”, “Value”, and “Format” of the attribute and then clicking the green “Add” button.

You can click the grey “Edit Attributes” button to rename the feature or edit the added attributes.

You can even delete inserted attributes by clicking the trash can icon to the right of the attribute.

To upload a photo of the feature that you already have on file, click the blue "Add Photo" button.

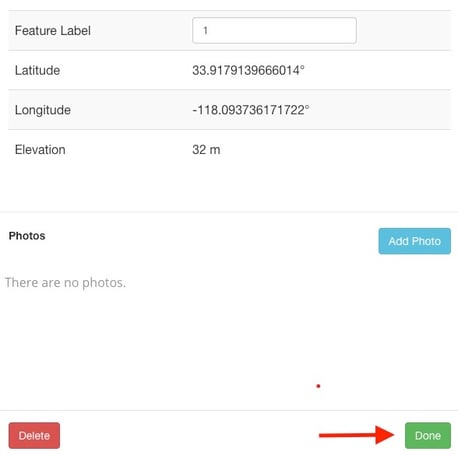
Click “Done” to save and close this window.

End of Article
Support
If you have any questions or need further assistance, please e-mail help@mapistry.com or call (510) 313-1422.
